The Cyber Triage team has historically prided itself with releases every 4 to 6 weeks to make sure we quickly support our DFIR teams on the front line. But, we have fallen short of that goal the past 6 months because we’ve been heads down on getting 3.0 out! We apologize for that, but we’re happy to announce that 3.0 is here and that it sets the stage for lots of big new features.
You can download the installer from here.
This post outlines what’s in the long anticipated 3.0 release.
New Database
The main event of 3.0 is the new database. Cyber Triage now uses the same relational database as Autopsy. As we outlined in the last blog post, this required Cyber Triage to push some features back into the last Autopsy release.
We’ll talk about all of the things this new database enables later, but let’s first go over some of the core concepts of the new database approach based on the different versions:
- The Standard version relies on SQLite for all of its databases.
- The Team version can operate with either SQLite or PostgreSQL. SQLite is easiest to deploy because everything is embedded, but it has performance limitations. Alternatively, a PostgreSQL server can be installed on either the same host as the Cyber Triage Server or a dedicated host (or cloud service). The User’s Guide helps you pick between these models.
Regardless of version or database type, Cyber Triage adopted Autopsy’s model of many small databases instead of one big monolithic one. A new database will be created for each incident and a single database will be used to store the attributes that get correlated on. This makes it easy to segment and archive data.
Update: Some folks have read the above to mean that Cyber Triage and Autopsy can open each other’s data. This is not true. An Autopsy Case cannot yet be opened in Cyber Triage. But, we’re getting there…. Right now, they just share the same database, but other supporting data is still different.
Everything Is Part of an Incident
A side effect of the new design is that any time you add a host to Cyber Triage, you need to first create an incident. Previously, you could optionally add a host to an incident. It’s not a big change, but it does slightly change the process.
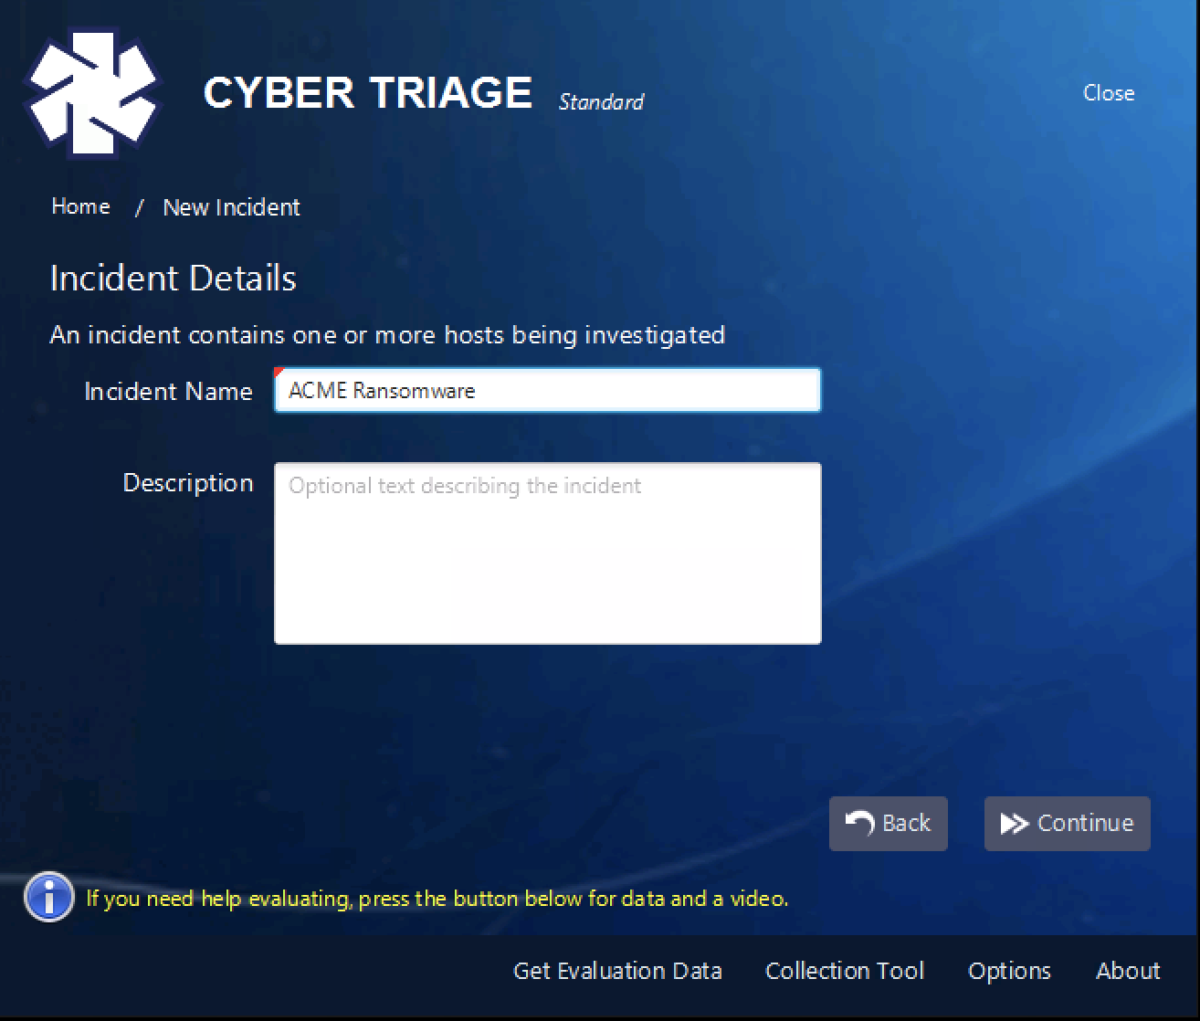
You’ll first make an incident using either an the default or an explicit name:
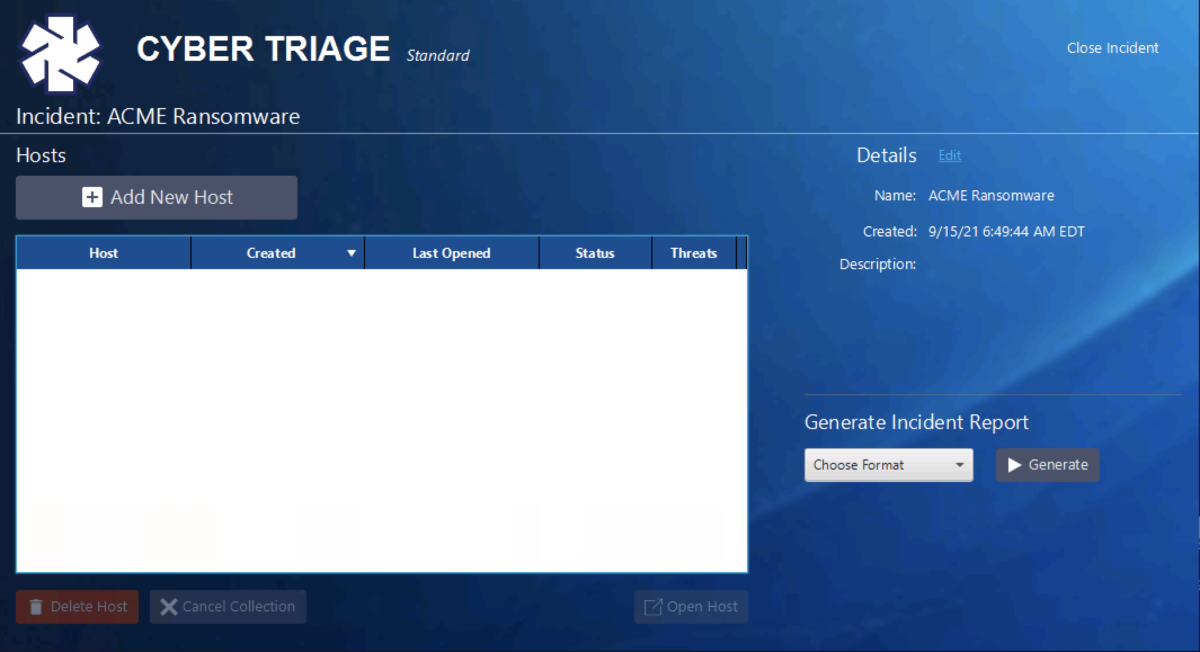
You’ll next be brought to the incident dashboard and should pick “Add New Host”.
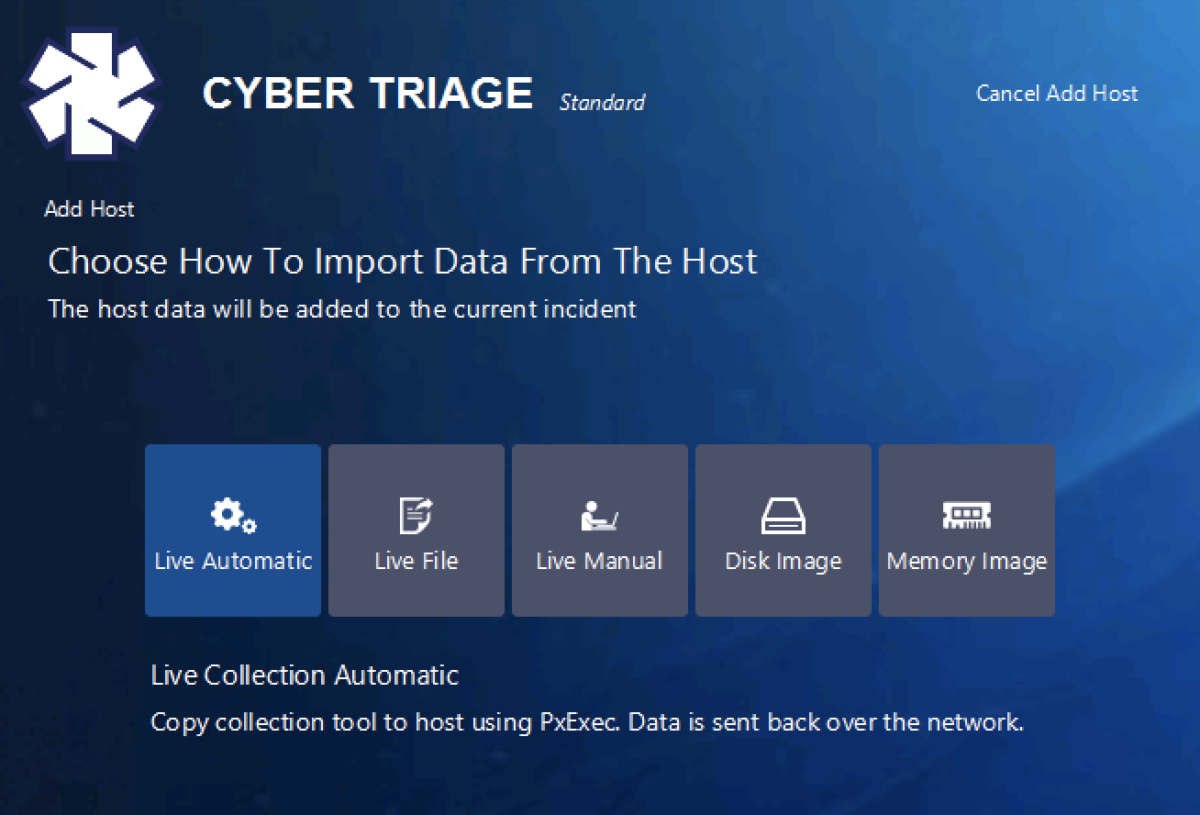
Then it’s the same process as before and you pick how you want to get data from the endpoint into Cyber Triage (though we did slightly change the name and ordering based on user feedback):
The above panel allow you to either send the collection tool out over the network to the live host, import live data from a USB drive or S3 bucket, or bring in an image.
Data Deletion!
Want to know what our most embarrassing customer support question was?
Customer: How can I delete data I just added into your application?
Support: Sorry, you can’t.
I always hated that response, but it was a side effect of our database setup. But, that is now gone.
In 3.0, you can delete an entire incident or a single host within an incident!
Same Analysis Features
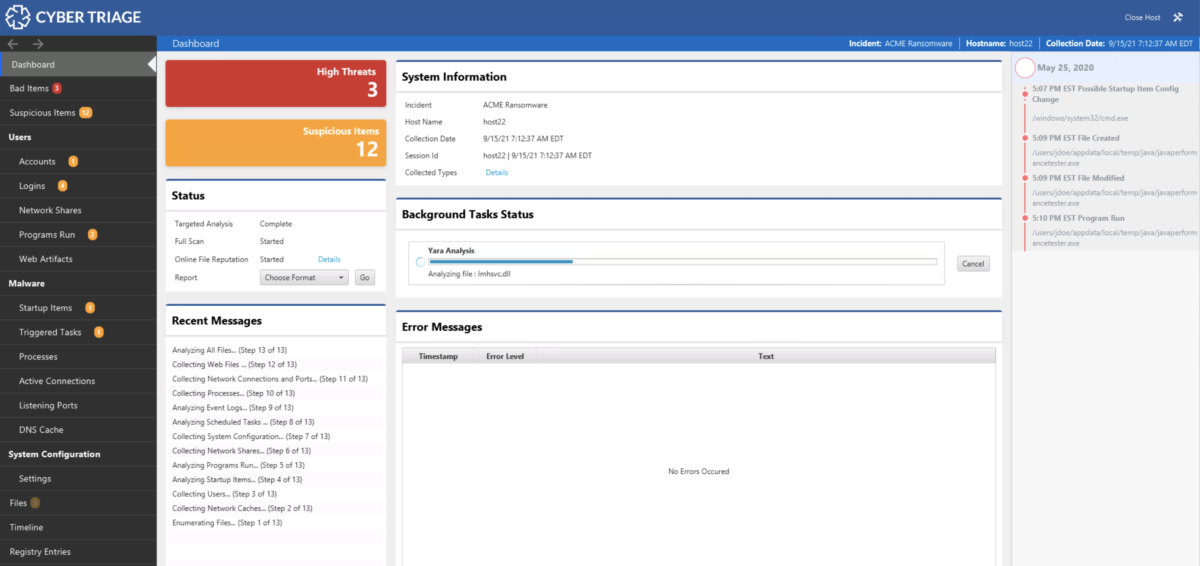
The main theme of 3.0 was the new backend. It has the same scoring analytics and recommendation engine that make the analysis more efficient. After the data is added, you’ll have the same experience as before.
We’ll soon be bringing in new analytical features!
REST APIs
If you are a Team customer, there are now more REST APIs that can be used to access data from within Cyber Triage. Previously, clients would connect directly to the database and the REST API on the server was only for integrations with SIEM/SOAR systems. Now, clients connect to the REST APIs and that means other systems can also access those APIs.
Reach out to support if you’d like more information about the REST APIs and how to pull data into your SIEM.
Try It Out
If you’re a Cyber Triage customer, you’ve already received the link to the new version. If you aren’t yet, you can try it out by filling out the form here.


